Players of Capcom’s action RPG want to know how to disable volumetric fog in Monster Hunter Wilds because the game, visually stunning as it is, can be overwhelming for your PC. Even players with high-end gaming rigs have reported noticeable FPS drops while playing. Adjusting the graphical settings in MHW can help improve performance, but volumetric fog doesn’t have the option to turn it off in the game’s menu. However, there’s a way to disable it manually.
If you’re wondering how to disable volumetric fog in Monster Hunter Wilds, here’s everything you need to know.
How to Disable Volumetric Fog in Monster Hunter Wilds
Since the game doesn’t provide an option to turn off volumetric fog in the settings menu, you’ll need to manually edit the game’s configuration file.
Step-by-Step Guide on How to Disable Volumetric Fog in MHW
- Locate the Game’s Installation Folder:
- Open your Steam Library.
- Right-click on Monster Hunter Wilds and select Properties.
- Go to the Installed Files tab and click on the Browse button. This will open the game’s installation folder.
- Find the Configuration File:
- In the installation folder, look for a file named
config.ini. This is the file you’ll need to edit.
- In the installation folder, look for a file named
- Open the File in a Text Editor:
- Use a simple text editor like Notepad or Notepad++ to open the
config.inifile. Avoid using advanced word processors like Microsoft Word, as they can add hidden formatting that might break the file.
- Use a simple text editor like Notepad or Notepad++ to open the
- Search for the Volumetric Fog Setting:
- Press
CTRL+Fto open the search bar in your text editor. - Type
VolumetricFogControl_Enable=into the search bar and press Enter. This will take you directly to the setting.
- Press
- Change the Value:
- You’ll see the line
VolumetricFogControl_Enable=True. Change the value fromTruetoFalse, so it looks like this:VolumetricFogControl_Enable=False
- You’ll see the line
- Save the File:
- After making the change, save the file and close the text editor.
- Restart the Game:
- Launch Monster Hunter Wilds to see the changes. Volumetric fog should now be disabled.
Performance Boost and Visual Changes
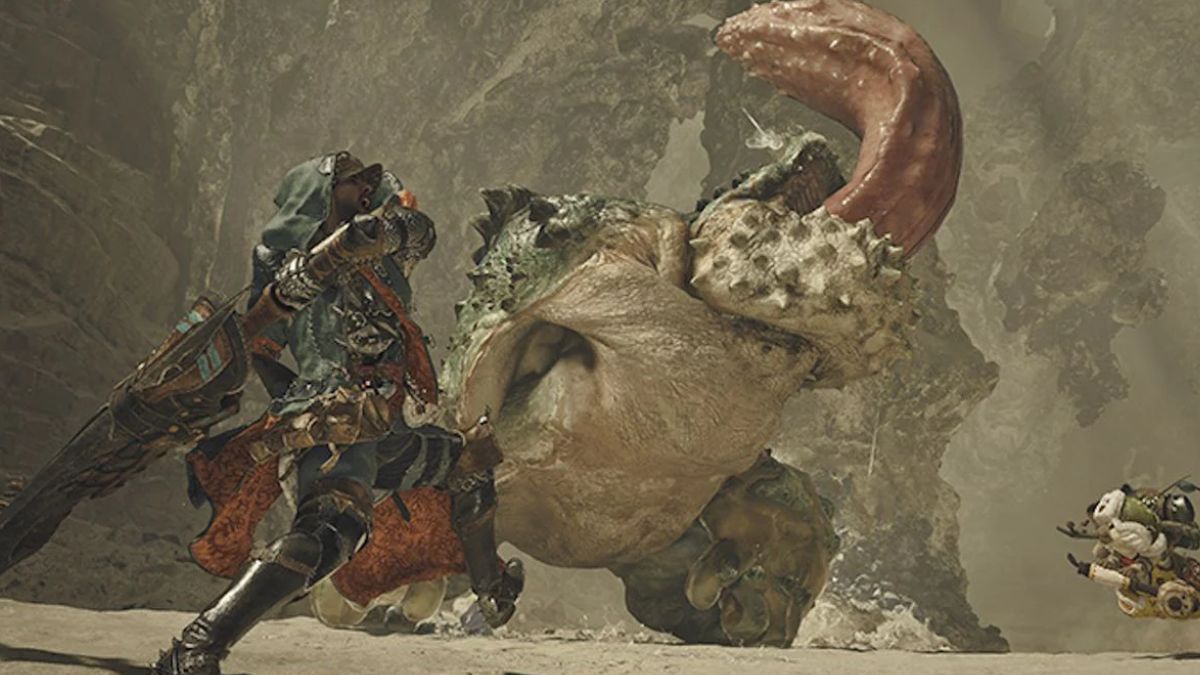
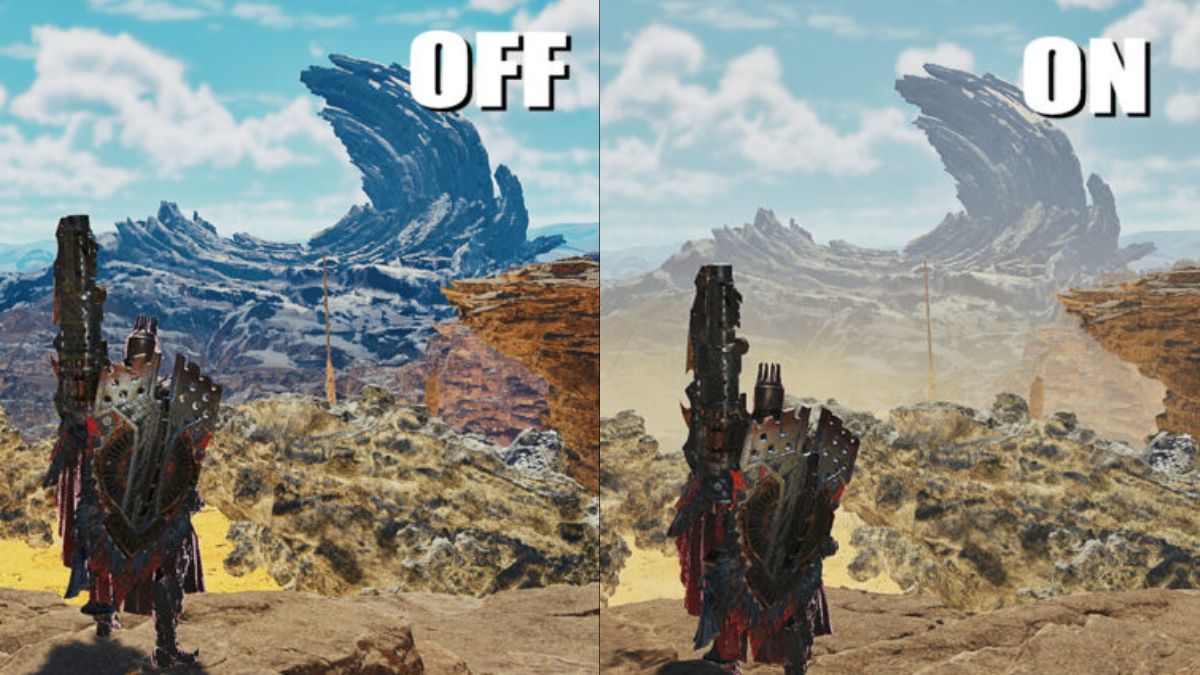
Volumetric fog is a graphical effect that adds depth and atmosphere to the game. While it looks great, it can be very taxing on your system, causing FPS drops and performance issues. Disabling volumetric fog can give you a noticeable FPS boost, making the game run smoother, especially if you’re playing on a mid-range or older PC.
Players who prefer to play at native resolution without using upscaling technologies like DLSS or FSR. The game’s colors will also appear more vibrant, and the overall visuals will look cleaner.
Based on testing, turning off volumetric fog in Monster Hunter Wilds can improve performance by 6-10 FPS. It also makes the game’s colors pop more, giving the visuals a cleaner and sharper look. However, there are some trade-offs
These are some potential downsides to disabling volumetric fog:
- Texture Issues: If you set the Texture Quality to anything lower than High, distant textures and scenery may turn black. This issue is particularly noticeable in areas like Windward Plains and Iceshard Cliffs during bad weather.
- Visual Glitches: Volumetric fog is often used to hide low-quality textures in the distance. Disabling it might reveal these textures, leading to unintended visual glitches.
To avoid these issues, we recommend keeping the Texture Quality setting on High while playing with volumetric fog disabled.
And that’s how to disable volumetric fog in Monster Hunter Wilds. For more MHW content, stay tuned to RetroNoob.


