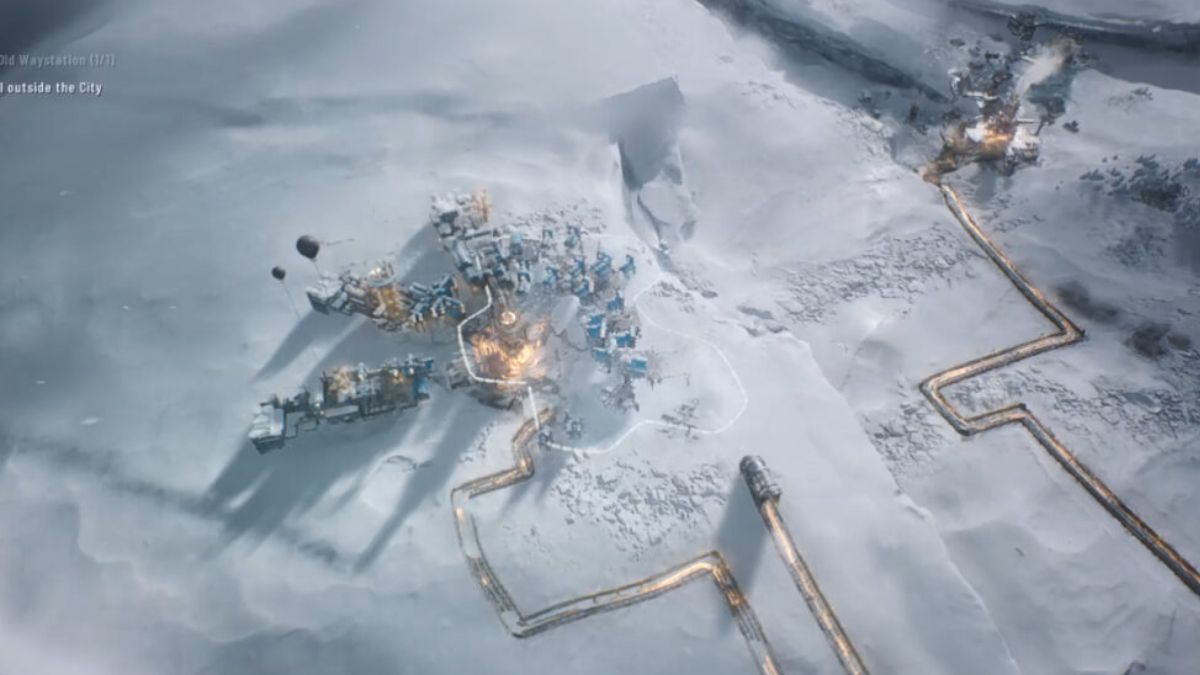
In developers 11 Bit Studios’ city-building survival game, players want to know how to explore Frostland in Frostpunk 2. Just like leaving the Grand Navy in Roblox Arcane Odyssey or visiting different planets in Star Wars: Outlaws, players can leave New London to explore the icy wilderness of Frostland. Although the Earth has become a frozen wasteland, there are still valuable resources you can find to keep your city alive.
You’ll need these resources, like oil, to power your generator and meet the needs of your people. Plus, with limited coal deposits around, finding a permanent fuel source is essential for surviving the dangerous Whiteout storms. Here’s a detailed guide on how to explore Frostland in Frostpunk 2.
How To Explore Frostland in Frostpunk 2

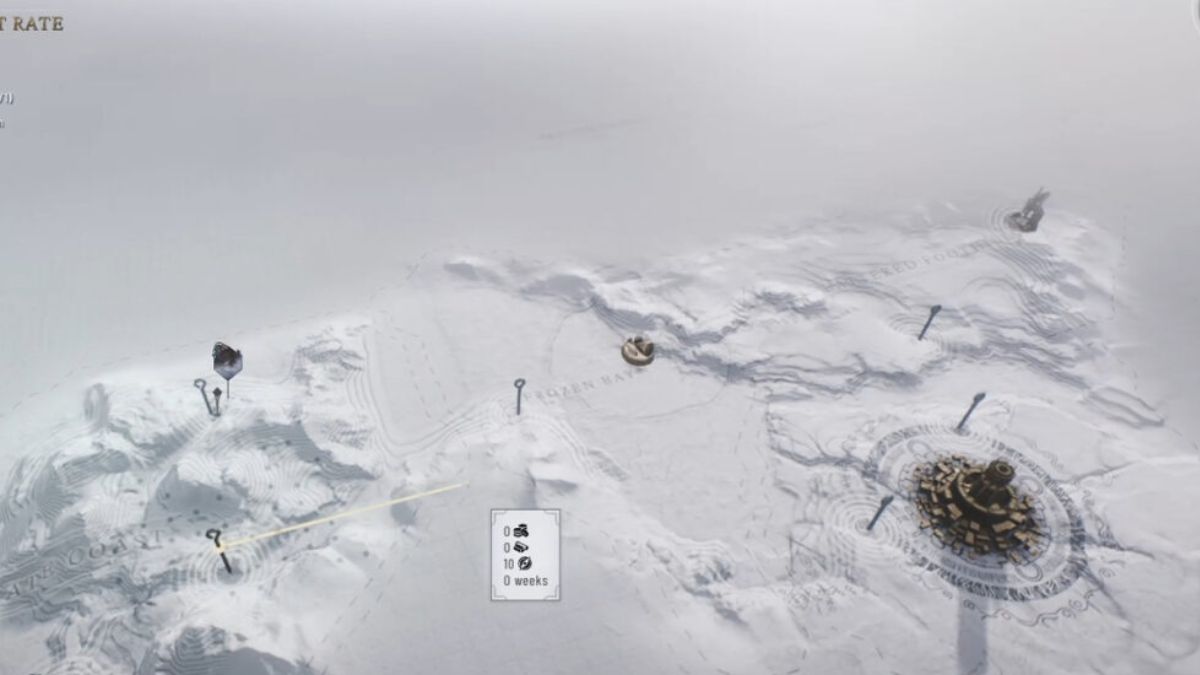
You can start exploring Frostland in Chapter 1 after you become the leader of New London. One of your main goals is to find oil deposits, which are hidden in the frozen wilderness. To do this, you need to send teams out to explore the icy lands.
To access Frostland exploration, you first have to build Logistics Districts. These are set up at specific points marked by compass icons on the edge of the region. There are three of these points near New London, and to build a Logistics District, you will need:
- 400 Workforce
- 40 Heatstamps
- 200 Prefabs
Each Logistics District you build will give you 15 Frostland Teams, which are the teams you’ll send out to explore. To start, building one Logistics District is enough, but as your exploration expands, you’ll want to build all three for more teams.
How To Reduce Frostland Dangers

As soon as you start exploring Frostland, you’ll notice that many areas are dangerous. Even though you can send your teams into these risky areas, there’s a chance some people may not make it back.
To lower the risk for your Frostland Teams, you’ll need to upgrade your Logistics Districts. This involves researching new technologies in the Idea Tree, where you’ll unlock the Survivalist’s Headquarters. This upgrade is tied to the Scouts’ Headquarters node in the Frostland section of your research.
It’s a good idea to research these upgrades early so you can safely explore more areas of Frostland. This will become especially important in Chapter 3 when you need to find Winterhome, which is located in a very dangerous part of the map. Thankfully, you only need to build one Survivalist’s Headquarters to reduce the overall danger level for your teams.
Outposts & Colonies

While you’ll be spending most of your time in New London, eventually, you’ll run low on resources as your population grows. To solve this, you can build outposts and even small colonies in Frostland.
After your teams complete an expedition, you’ll uncover all the available resources in that area. Some resources can only be collected once, but other areas allow you to build outposts to provide a continuous supply. In some rare cases, you can even establish colonies, such as Old Dreadnought and Winterhome.
To keep resources flowing from these outposts, you’ll need to build Trails, which are paths that allow resource transport back to New London. Building a Trail requires time and materials, and the amount needed will depend on how far the outpost is from your city.
Now that you know how to explore Frostland in Frostpunk 2, you’re ready to dive into the frozen wilderness and secure your city’s future.
Or if you’re one of those players who would rather create chaos in the city, RetroNoob has you covered. Check out our other guide on how to become a God in GTA Online.


