The Meta Quest headsets, including the Quest 2 and the new Quest 3, are some of the best VR headsets available. But what if you want to learn how to play Steam games on Meta Quest 3 like the new Assassin’s Creed on your headset? Sure, they’re affordable, standalone, and allow you to sideload third-party apps but that’s not all.The good news is that it’s not only possible but also pretty simple to play popular Steam games on Meta Quest.
In this guide, we’ll walk you through the steps on how to play Steam games on Meta Quest 3.
How to Play Steam Games on Meta Quest 3 with Steam Link

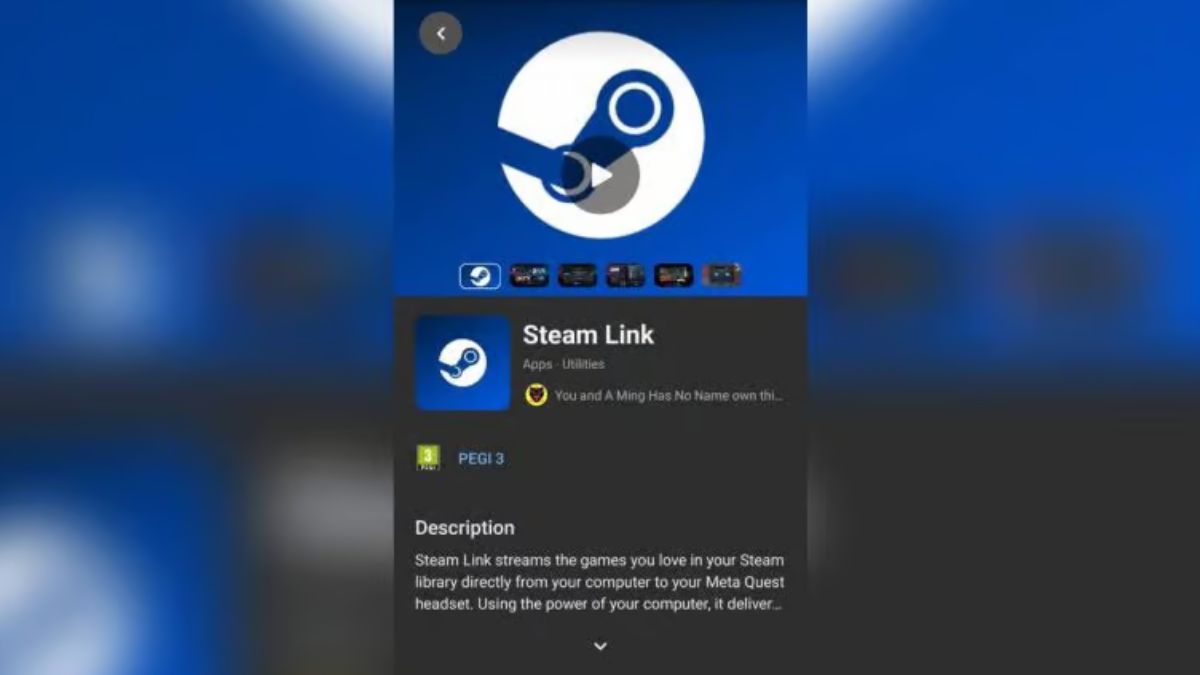
One of the easiest ways to play Steam games on your Meta Quest 3 is by using Steam Link. Here’s how you can do it:
- Connect to the Same Network: Make sure both your PC and Quest 3 are connected to the same Wi-Fi network.
- Open the Meta App: On your phone, open the Meta app.
- Download Steam Link: Go to the Meta Quest store and download the Steam Link app on your Quest headset.
- Install Steam VR: On your PC, download and install Steam VR.
- Turn on Your Headset: Once your Quest 3 is on, open the Steam Link app.
- Pair Steam Link: During the setup process, you’ll see your PC listed as an available computer. Click “Connect.”
- Confirm on Your PC: Complete the pairing process on your computer.
That’s it! You can now launch any VR game from your Steam library directly on your Quest 3. The best part? You can do this wirelessly, so no need for cables.
How to Play Steam Games on Quest 3 Using a Cable

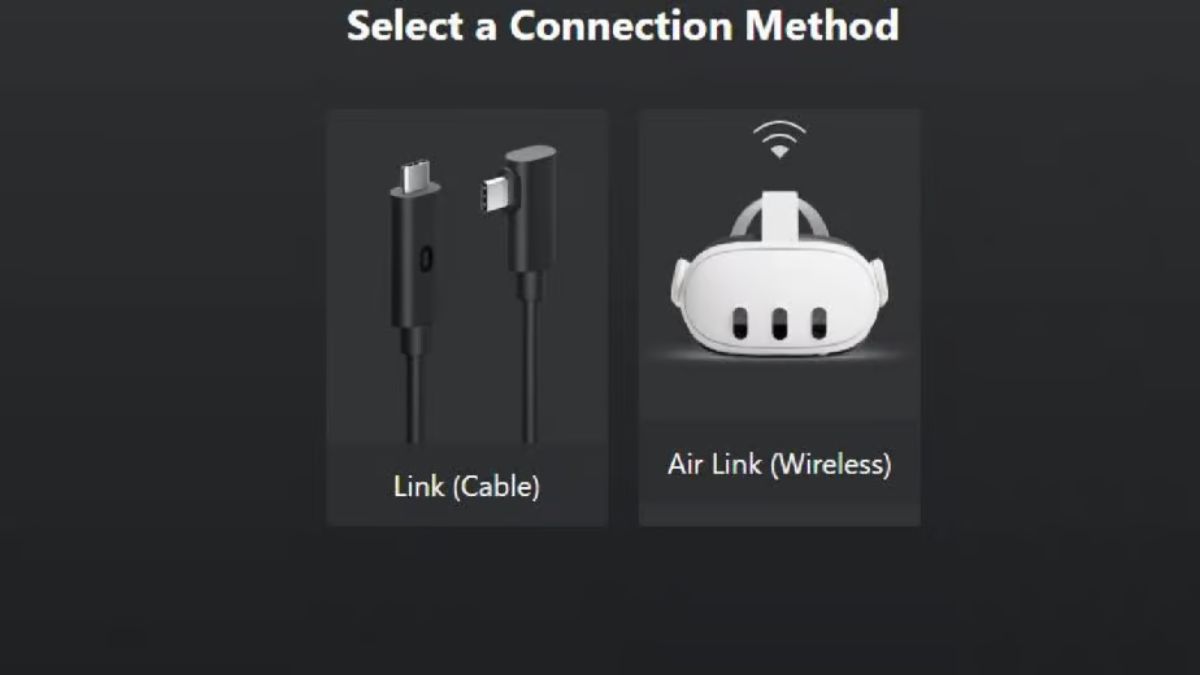
If you prefer a wired connection, you can also use a Link Cable to play Steam games on your Meta Quest 3. Here’s how:
- Get a Link Cable: You can buy a Link Cable from Amazon, or use any USB Type-C cable that’s at least 15 feet long.
- Connect Your Quest to PC: Plug the cable into your Quest 3 and PC.
- Open Quest Desktop App: On your PC, run the Quest desktop app and click on “Devices.”
- Add Headset: Select “Add Headset” and choose Quest from the list.
- Select Link (Cable): Follow the steps to connect via Link Cable.
- Launch Steam: Run Steam on your PC, open SteamVR, and enjoy your games!
How to Play Steam Games on Meta Quest 3 Using Air Link

Want to play Steam games on your Quest 3 without any cables? You can do it wirelessly with Air Link. Here’s how:
- Connect to Wi-Fi: Make sure both your Quest 3 and your PC are on the same Wi-Fi network, preferably 5 GHz for the best experience.
- Open Quest App on PC: Run the Quest desktop app on your PC.
- Enable Air Link: In the app, go to Settings, click on Beta, and turn on Air Link.
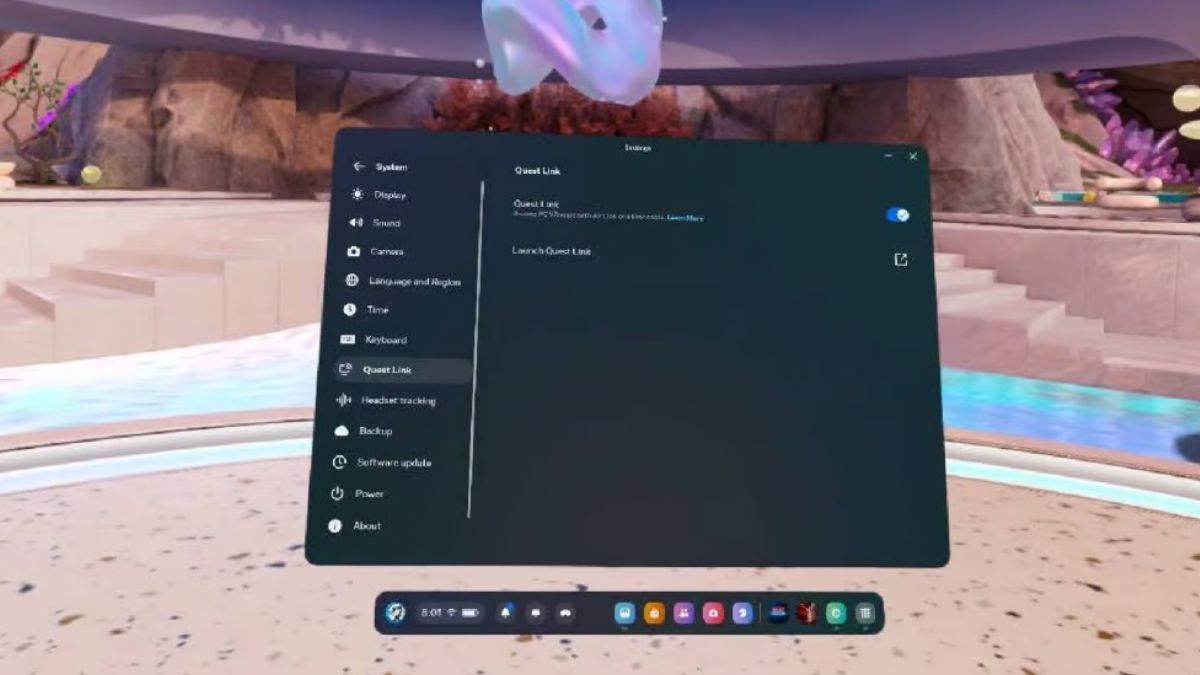
- Activate Air Link on Quest 3: In your Quest headset, press the Oculus button on your right controller to access the home menu. Select Quest Link and choose your PC from the list.
- Launch Steam: Once linked, go back to the home menu, select Desktop, find Steam, and start playing your games!
PC Requirements for Steam Games on Quest 3
To make sure your PC can handle VR games on the Meta Quest 3, here are the minimum requirements:
- Operating System: Windows 10 or 11
- CPU: Intel Core i5 or AMD equivalent
- GPU: Nvidia GeForce GTX 1070 or better
- RAM: 8GB or more
- Software: Steam and Meta Quest app
Unfortunately, you can’t play Steam VR games on Quest 3 if you’re using a MacBook, Chromebook, or a Linux-based PC.
Playing Steam games on your Meta Quest 3 opens up a whole new world of gaming. Whether you choose to connect through Steam Link, a Link Cable, or Air Link, the process is simple and straightforward. Follow this guide, and soon you’ll be enjoying some of the best VR games out there. Now that you know how to play Steam games on Meta Quest 3, it’s time to dive into the action.
For more guides on popular games on Steam like Frostpunk 2, stay tuned to RetroNoob.


